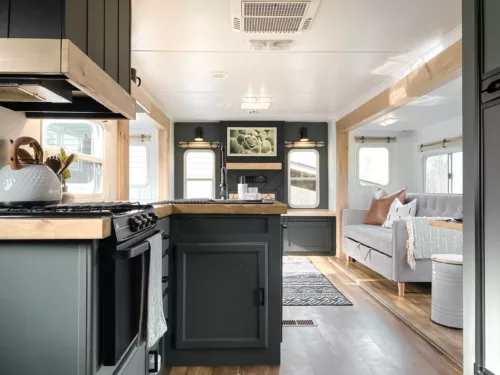
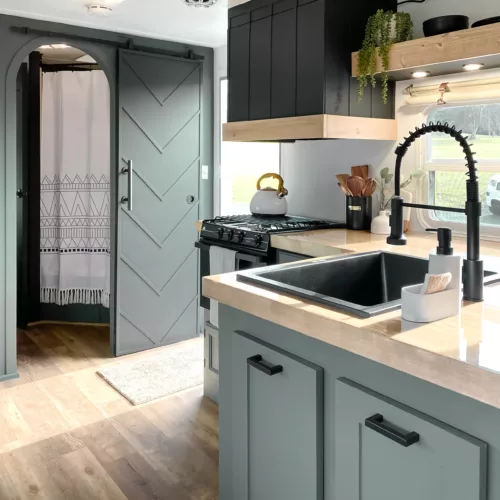
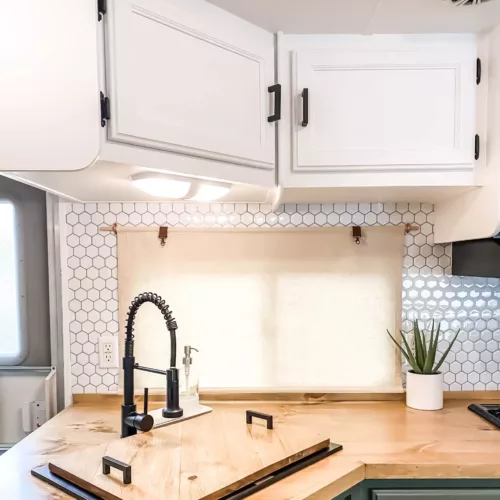
How to Paint Interior RV Walls
Project
Room
Cost
Skill Level
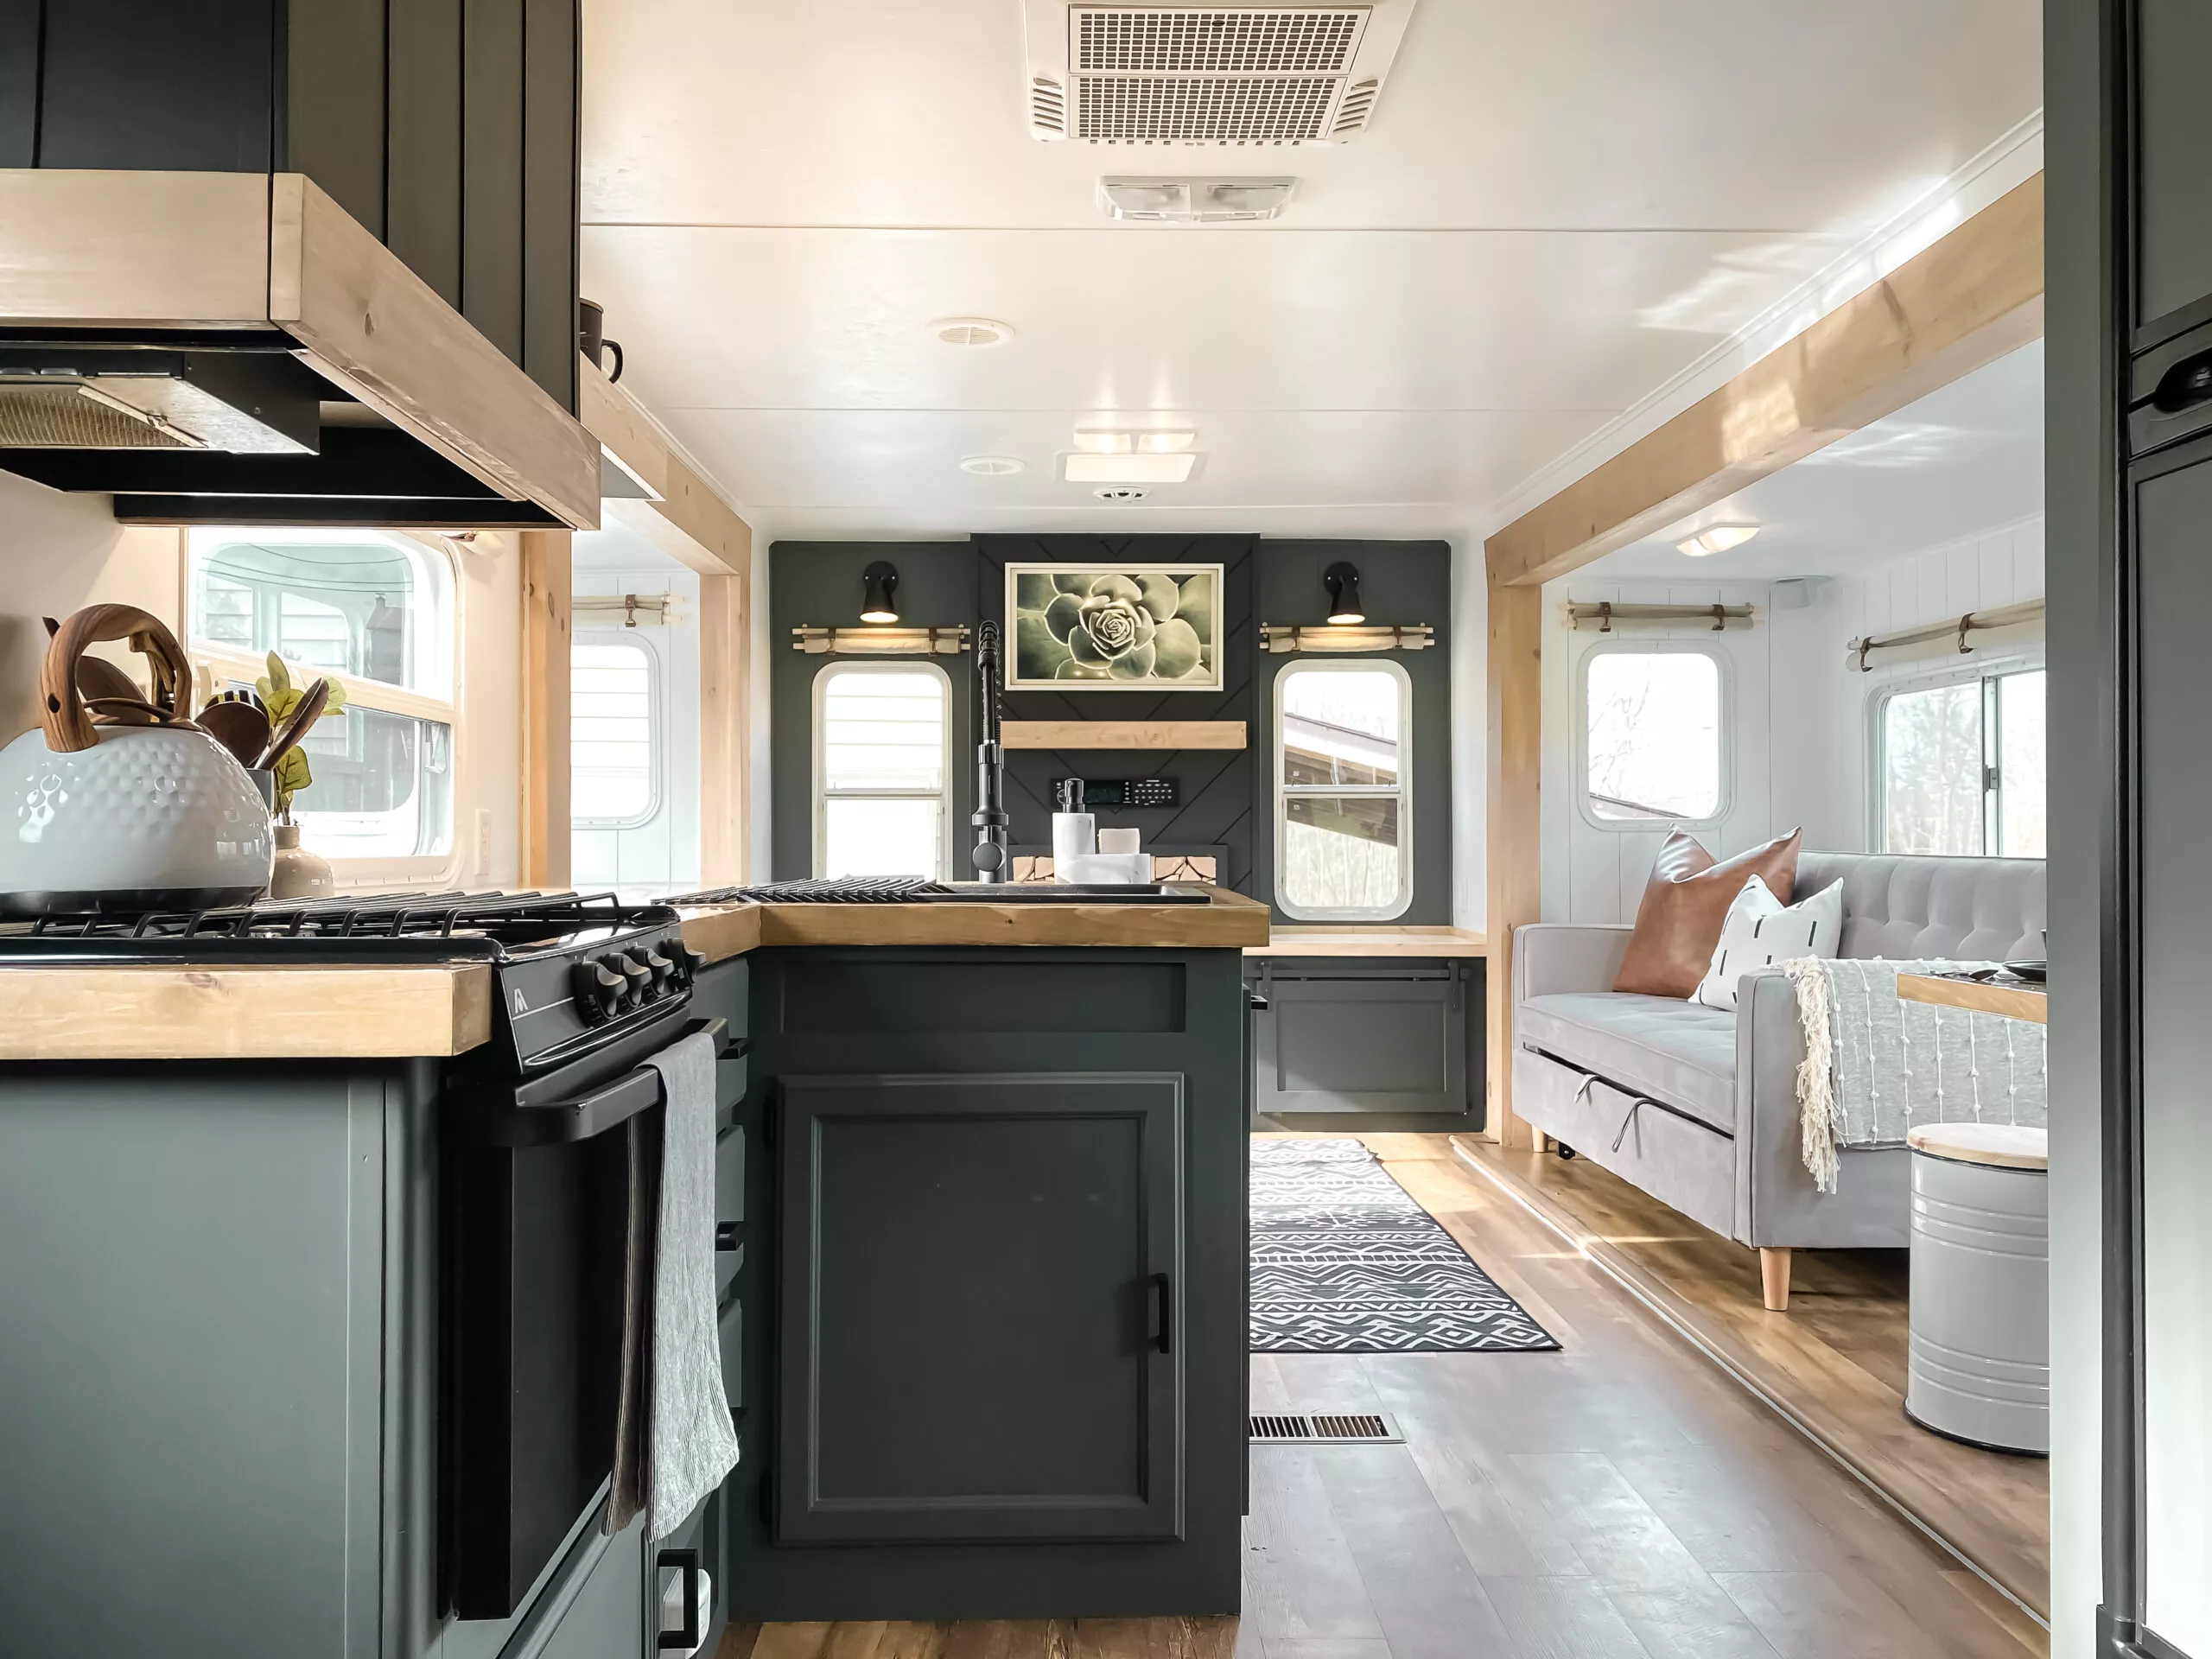
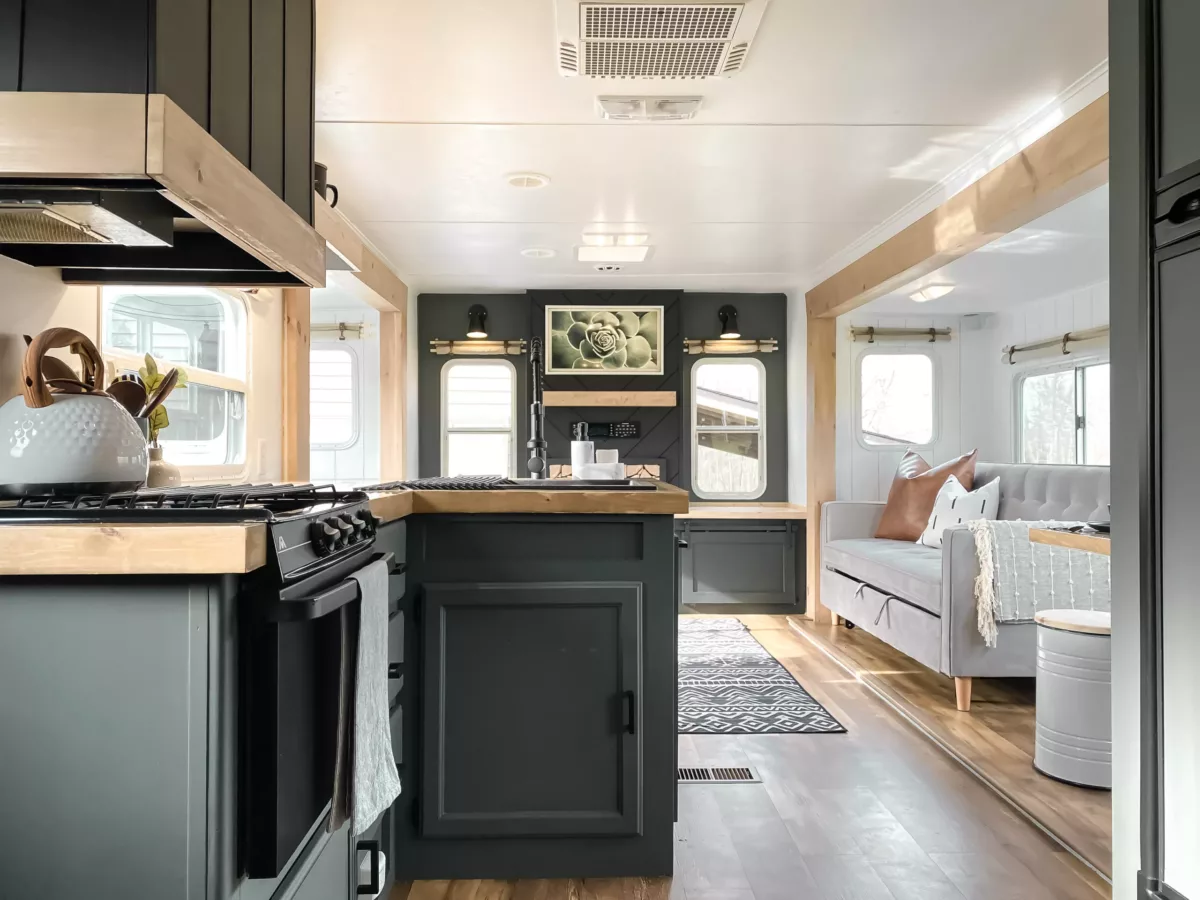
Looking to paint your RV’s interior, but don’t know where to start? We’ve outlined all the steps on how to paint the interior of your RV.
There are infinite reasons you may have decided that you have to paint your RV’s interior. Wanting to make your RV your own, a cozy place to call home, or to cover up an aging interior are all examples.
You might also be forced to paint if there was previous water damage that needs to be covered (after being repaired!).
If this is your first RV renovation, check out the expense report to see how much it costs to paint a 30′ trailer. The total includes paint for the walls, ceiling, and cabinets. Here is a breakdown of the amount of paint used for a 30′ trailer:
- 3 gallons of BIN Shellac Primer
- 4 gallons of white (Frost by Behr)
- 1 gallon of green (Pewter Green by Sherwin Williams)
- 1 gallon of black (Broadway by Behr)
Shopping List
- BIN Shellac Primer
- Paint
- 1 quart of Flood Floetrol (optional if using a sprayer)
Interior RV paint recommendations:
- Behr Marquee
- Benjamin Moore Regal Select
- Sherwin Williams Duration
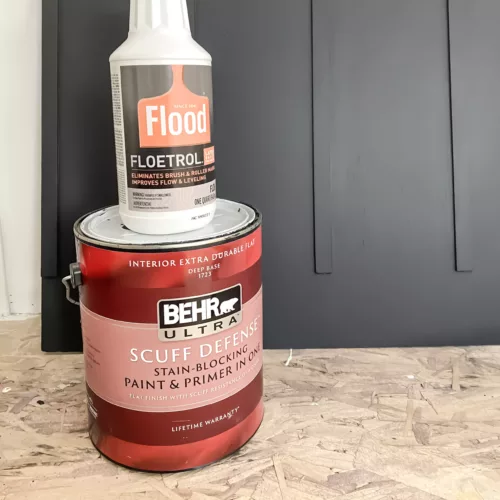
- Behr Ultra Scuff Defense (This is a flat finish and I’ve had great results with durability)
Tools/Supplies
Instructions for how to paint RV interior
Painting the interior walls of your RV can be a daunting task. After all, you want to make sure it looks just right and is properly sealed against any moisture or other damage that could occur in the future. That’s why we’ve put together this guide to help you paint your RV walls in five simple steps. So, if you’re ready to get started, let’s dive right in!
Step
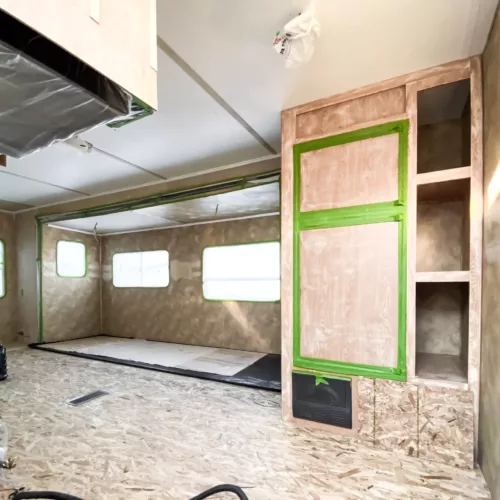
Prepare the surface of your walls
Remove any blinds, valances, or other items screwed to the walls. It’s easier to paint without having to cut around items on the walls.
Be sure to remove any wallpaper borders.
To remove RV wallpaper borders
- Use a heat gun and heat the border for easy removal
- Apply acetone to remove any remaining adhesive
Note: Do not try to remove the full wallpaper from the RV interior wall panels. It adheres really well, and you risk damaging the plywood.
Step
Patch the walls
Fill in any old screw holes or dings with DAP wood filler. Use wood bondo for large patches.
If the surface is raised around the screw hole:
- Use a razor blade to scrape the raised material
- Apply the wood filler
- Once it’s dry, sand with 220 grit sandpaper.
You only need to sand areas of the walls you’ve patched—no need to sand the walls entirely.

Step
Clean and degrease
Cleaning the surface of the walls is a critical step when painting your RV’s interior. You should use a high-quality solution to prevent bubbling, fish-eyeing, or other imperfections in the paint.
Use TSP and wipe down all the walls. You want to remove any oily residue to ensure proper paint adhesion.
Step
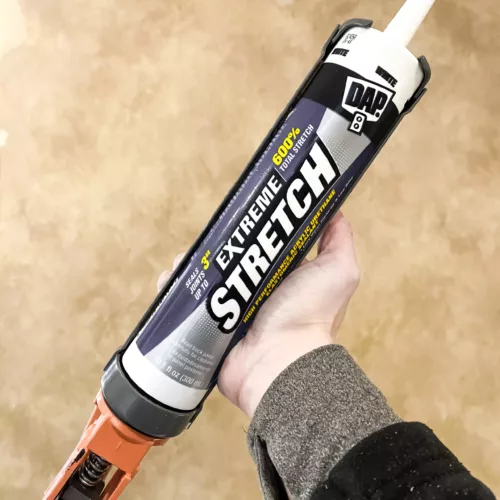
Caulk the interior seams
If you have any small gaps along the ceiling and walls, use Dap Extreme Stretch Caulk to fill the gap. Wipe any excess off.
Important: Use a paintable caulk that has a lot of flexibility since campers flex while going down the road.
Just like when painting the RV’s exterior, you should caulk to any seams or gaps to ensure a clean finish and keep your RV sealed.
Step
Tape or mask off any areas
With Frogtape painters tape, tape off any areas that you don’t want to get paint on like:
- Light switches
- Outlets
- Window frames
- Console panels
You can also use 3M masking film to mask off larger areas.
Note: Are you team blue or green? I recommend Frogtape because it gives you cleaner edges with little to no paint bleed.
Step
Apply primer
Once you have finished prepping the walls, it’s time to apply primer. Primer is essential for ensuring that your paint will adhere and last longer on the walls. Be sure to cover all corners and edges evenly with primer and allow it to dry completely before proceeding onto the next step.
Use a good primer like Gripper or Kilz Adhesion.
- Apply 1-2 coats of primer on all the walls that you will be applying color.
- Once everything is primed, go through and putty any missed holes and caulk any visible gaps. You want to ensure all caulking is done before painting because many caulk brands will turn yellow with UV exposure.
Plan your RV renovation accordingly – wait 24-48 hours before applying your first coat of paint.
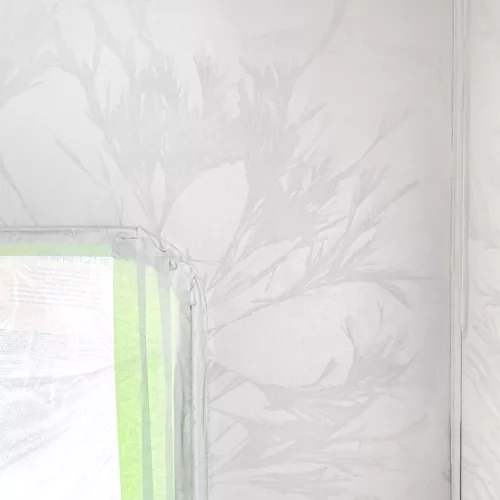
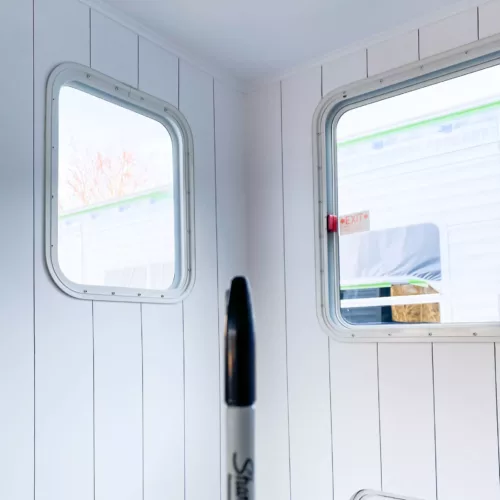
Important: Do not skip priming! This step is essential, so your paint doesn’t flake or scratch off in time. Also, ensure you’re painting in the recommended temperatures according to the paint manufacturer or you’ll get undesired detail like the image below.
Step
Choose your paint color
Now comes the fun part—choosing which color you want for your RV walls! It’s important to choose a color that will complement the rest of your decorating scheme and reflect light well enough so that your RV doesn’t feel too dark inside when closed up during travel. If you are unsure which color would work best for your space, consider consulting an interior designer for some advice before committing to a shade.
Step
Paint your walls
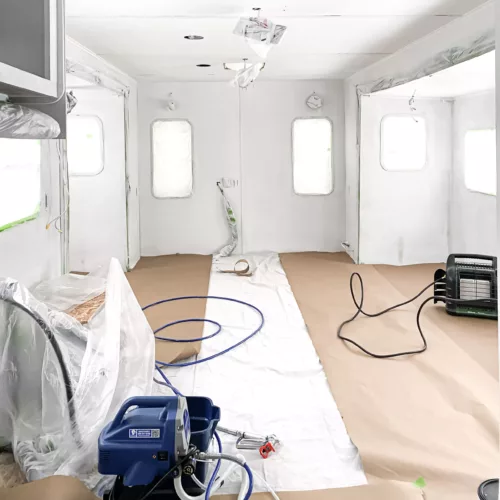
After waiting at least 24 hours after priming, it’s now time for painting! Start by using a brush or roller along the edges and corners first before moving onto larger sections of wall space using a roller or sprayer (if available). If possible, try not to overlap areas as much as possible; instead, use long strokes in one direction until you finish each wall section before moving onto another one. You may find it helpful to divide each wall into sections while painting so that everything looks even when done drying later on.
Make sure not to forget about painting around windows and doors as well—these places often get overlooked but are definitely worth spending some extra time on as they add character and texture to an otherwise plain wall space!
Let your first coat of paint dry for about 24-48 hours, then apply a second coat in the same manner. Again, wait 24-48 hours, and once the second coat is dry, be sure to lightly sand and wipe down between the coats.
Tips for getting the best finish when painting RV walls
- Get good quality paint. At least an eggshell or satin finish is recommended.
- Use a brush to get in the corners of the walls and use 3/8″ nap rollers to apply most of the paint. You could also use a paint spray for a flawless finish. If you opt for a sprayer, we recommend the Graco Magnum paint sprayer.
- To hide any brush strokes, roller marks, or even to get a spray finish smooth as glass, it’s highly recommended to use Flood Floetrol. Mix 8oz in 1 gallon of paint.
RV interior paint recommendations:
Step
Allow time to dry and enjoy the end results
Finally, once all of the painting has been completed, allow ample time for everything to dry completely before closing up your RV again for travel (a minimum of 24 hours). Doing this will ensure that everything has had adequate time for bonding together without being disturbed by activities inside of the vehicle such as cooking etc., which could potentially cause smudging or streaking on freshly painted surfaces if not given enough time for curing beforehand.
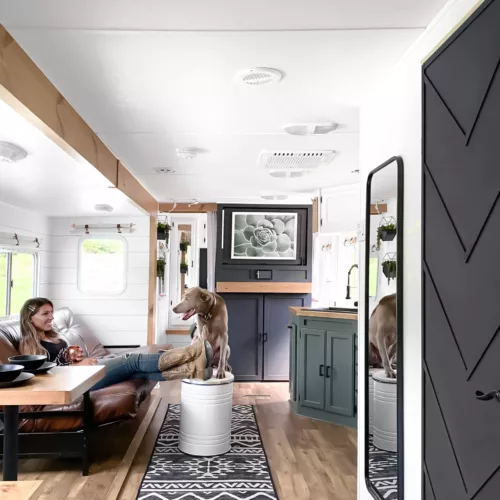
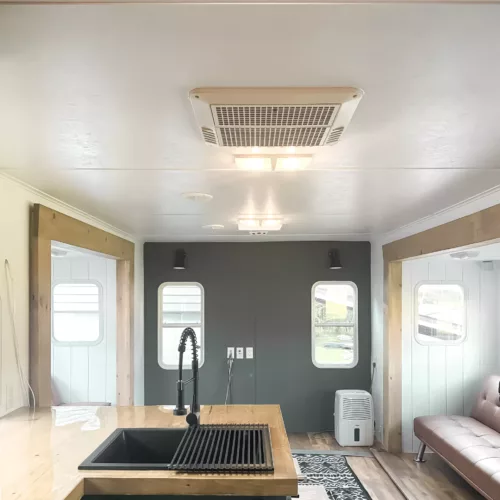
Now sit back and enjoy looking at your newly painted RV walls—you did an amazing job!
Congratulations—you now know how easy it is to paint RV walls in these simple steps! Whether you’re refurbishing an old camper van or just sprucing up an existing one, following these steps will help ensure that everything turns out looking perfect every single time. And don’t forget—have fun while doing this project because, after all, there’s nothing better than having something beautiful that was made with love by none other than yourself! So go ahead and get started today—you’ll be glad you did
More RV Renovation Ideas
After painting your RV walls, you may be on a roll with your RV renovations. Luckily, Happy Glamper Co is an expert in all things DIY RV renovation and has many guides to help with your next project.
Not prepared to put the RV valances back up? Upgrade your RV window treatments with DIY curtains.
Love the look of shiplap but not the price tag? Try this $1 Sharpie Shiplap for a timeless look.
Ready to tackle your RV cabinets? Check out this complete guide for painting RV cabinets.
How to Do Sharpie Shiplap
How to Paint RV Cabinets
How to Make RV DIY Curtains