How to Install RV Flooring
Project
Room
Cost
Skill Level
Are you beginning a camper renovation and not sure what flooring to go with? There are lots of RV flooring options to choose from when you are replacing your camper flooring. Here is what I recommend plus how to install your new flooring!
The Best RV Flooring Replacement
If you’ve done hours of research like me, you’ll find out that there is no right answer. Some RVers go with laminate, vinyl, tile, or even hardwood.
So let me tell you what I decided to go with and why.
Pros of RV Vinyl Plank Flooring
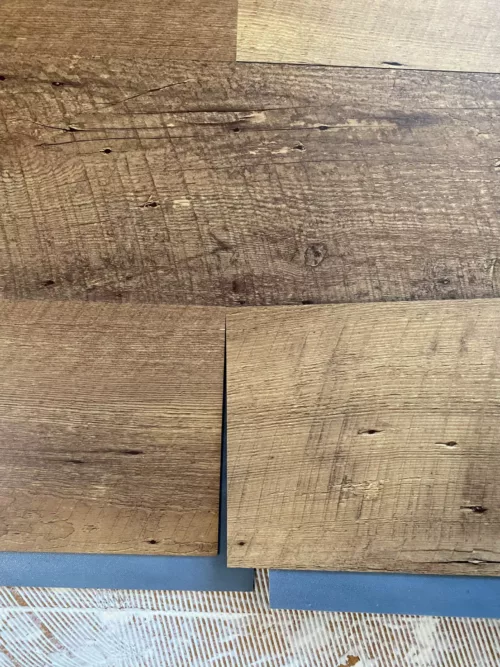
Vinyl plank flooring is a great choice when you are replacing your camper flooring. I chose TrafficMASTER Luxury Vinyl Gripstrip Planks for 5 reasons:
- 100% Waterproof. In my opinion, you need something 100% waterproof because having water come inside your camper is inevitable. Even if it’s just a slight mist that blows through the screen door during a summer rainstorm.
- Lightweight. Out of all the vinyl plank flooring on the market, this brand is the most lightweight you can find. In a camper renovation, you should always be aware of the weight and be sure to stay under the GAWR (Gross Axle Weight Rating) for safety reasons.
- Durable. I have vinyl plank floors in my home with two dogs and after 5 years, the floor still looks brand new. The vinyl planks have held up even when they get the “zoomies“ and run as fast as they can but just slip on the floor with their nails.
- Glueable. With the flex of an RV while being towed, as well as temperature fluctuations, the flooring should really be glued down to prevent buckling, separating, and cracking. The glue will give it a secure hold. Plus gluing helps alleviate the hollow sound as you walk on it.
- Availability. This vinyl plank flooring can be found at Home Depot. Let’s face it, everyone has a Home Depot relatively close. You can’t beat the convenience of just running to Home Depot and picking up the flooring, or having it shipped right to your home. Most custom flooring stores will take 3-4 weeks to have the product ordered and ready for pickup.
Cons of Other RV Flooring Ideas
Those are all the reasons why I chose vinyl planks. So let me shed some light on why I didn’t go with the other flooring options.
- Click-Lock Luxury Vinyl Planks: Most of these options are thick and heavy. If you winterized your camper and experience below-freezing temperatures, the cold weather makes the click-lock seams brittle and you could risk them breaking.
- Laminate: It’s not waterproof. Any water exposure will cause it to swell.
- Tile: With the flex of the camper while towing, tile and grout are susceptible to cracking
- Hardwood: It’s heavy, prone to scratches, and not waterproof.
- Vinyl Sheet: This is actually a great option to consider. The only reason I swayed from it was that it’s harder to install as an individual DIY’er, takes 3-4 weeks to be ordered, and I fear the slideout tearing it since it’s not as durable as the vinyl planks.
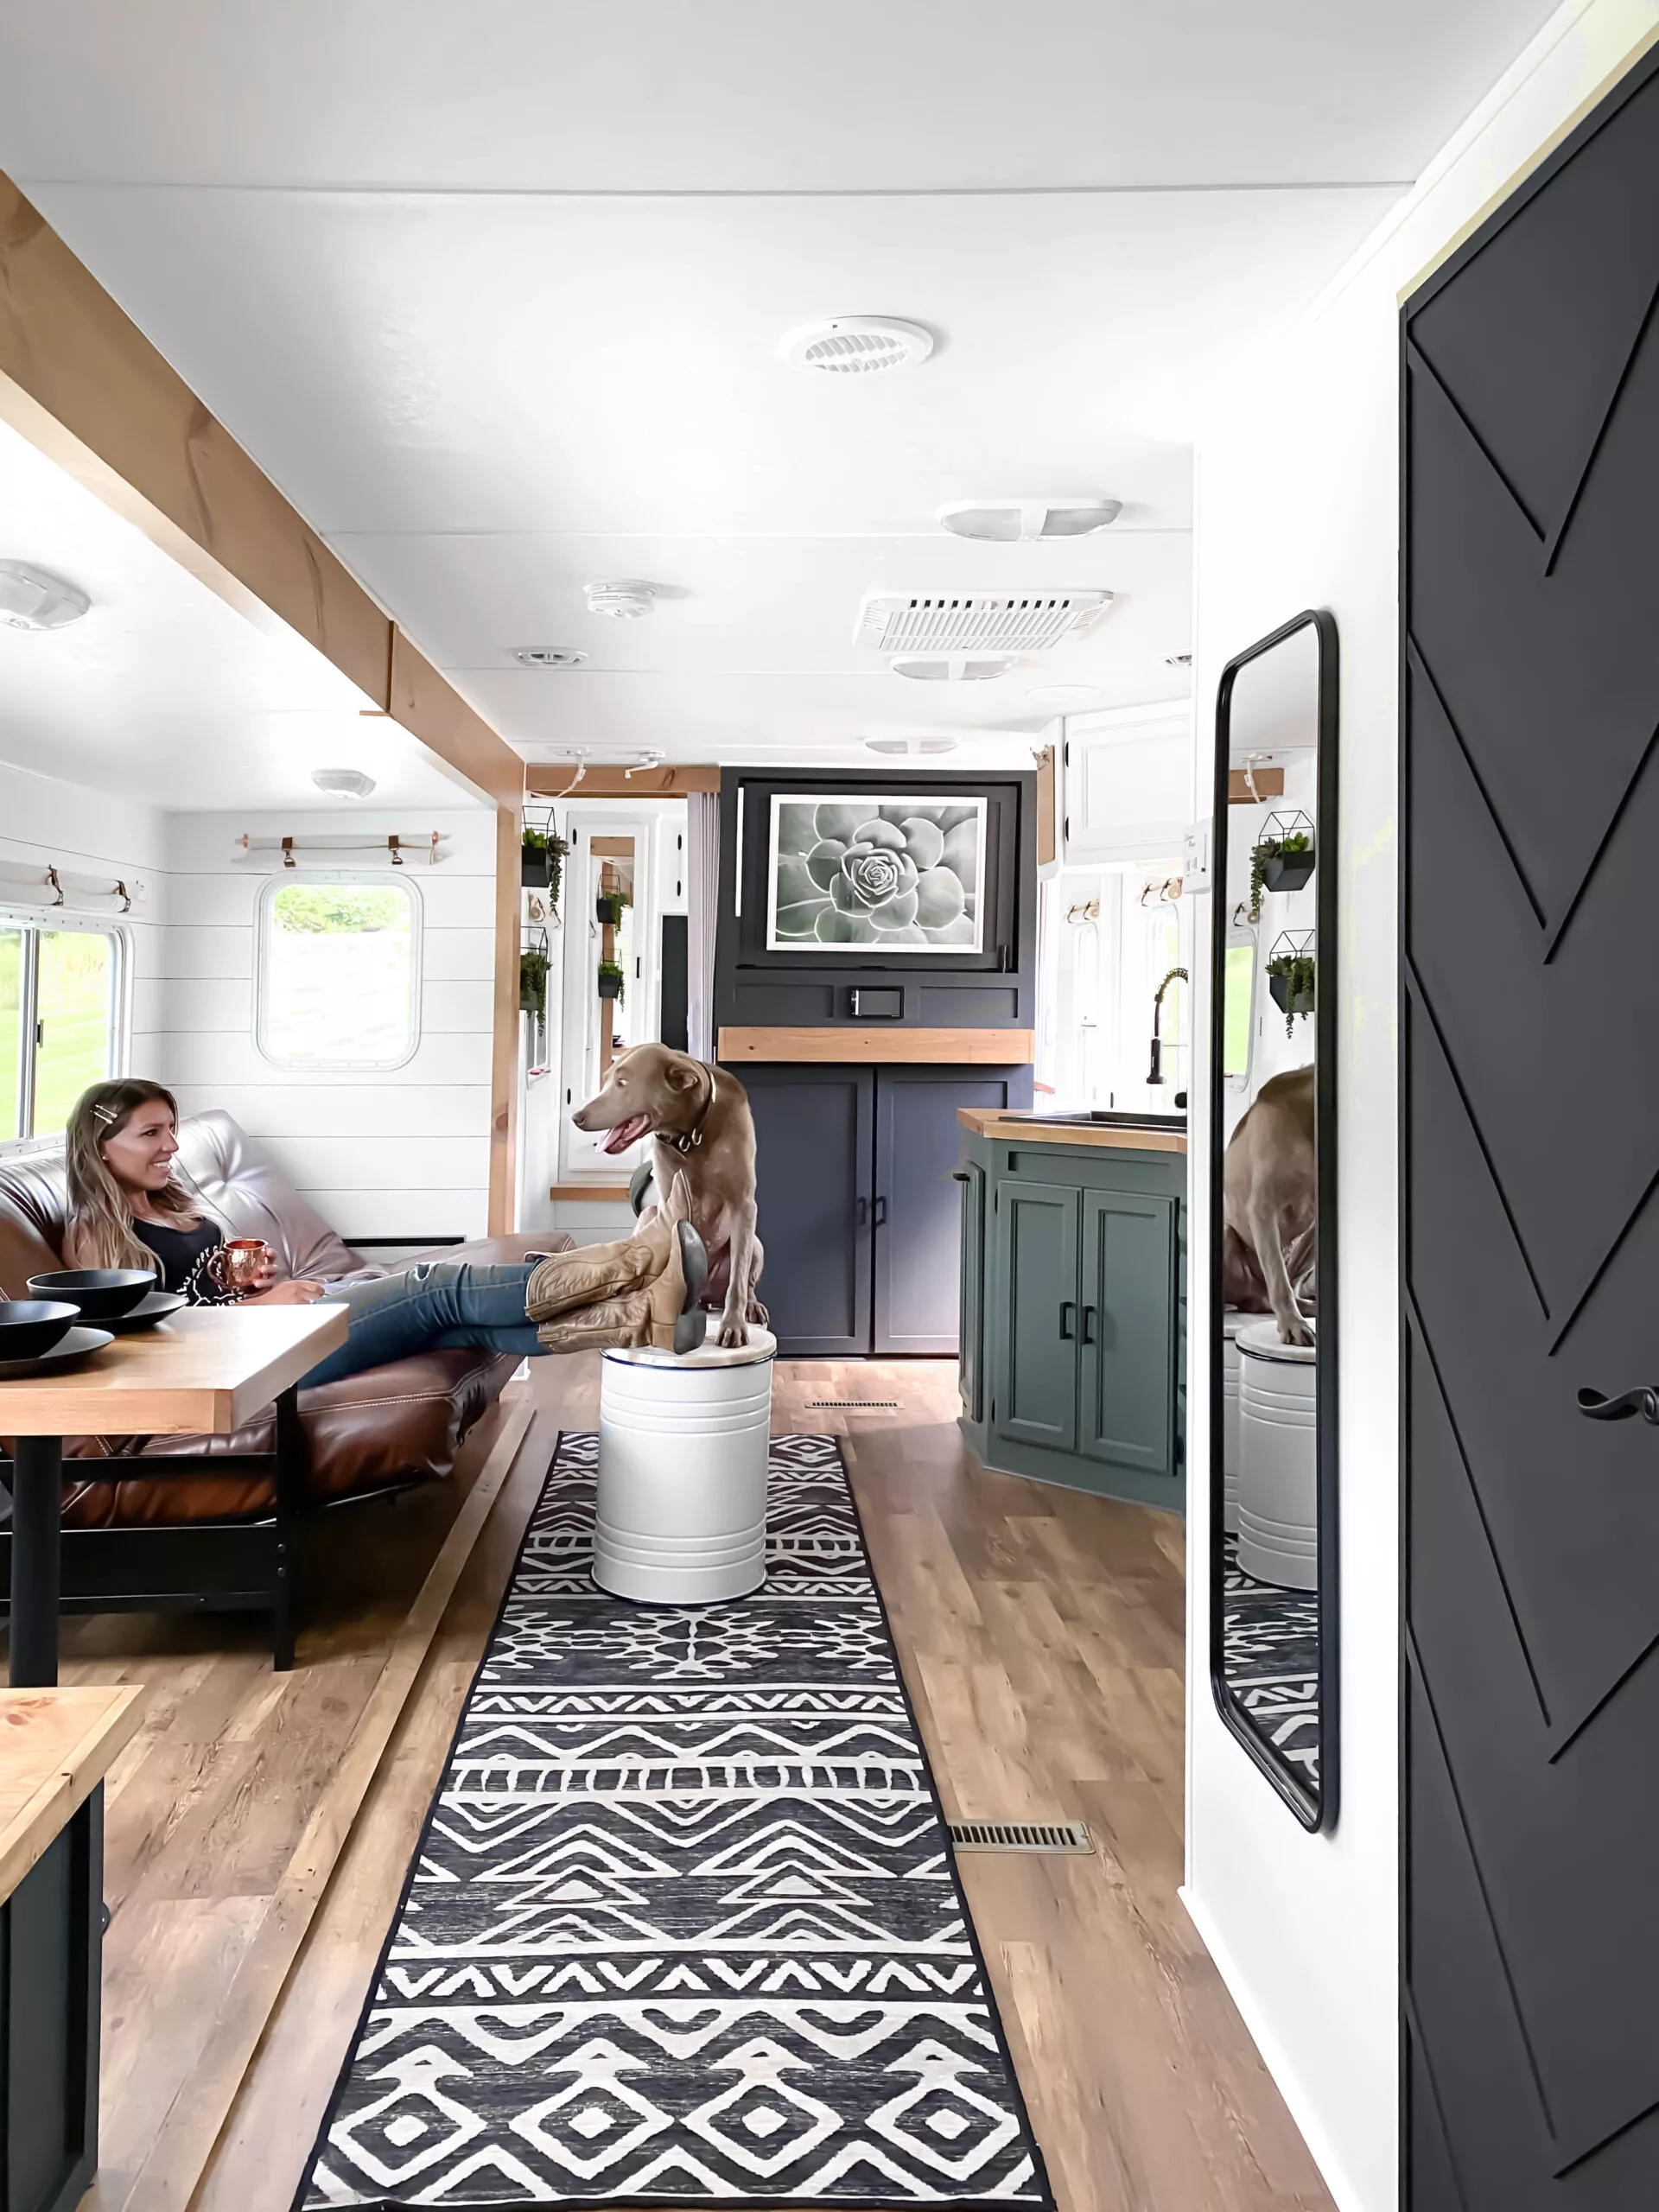
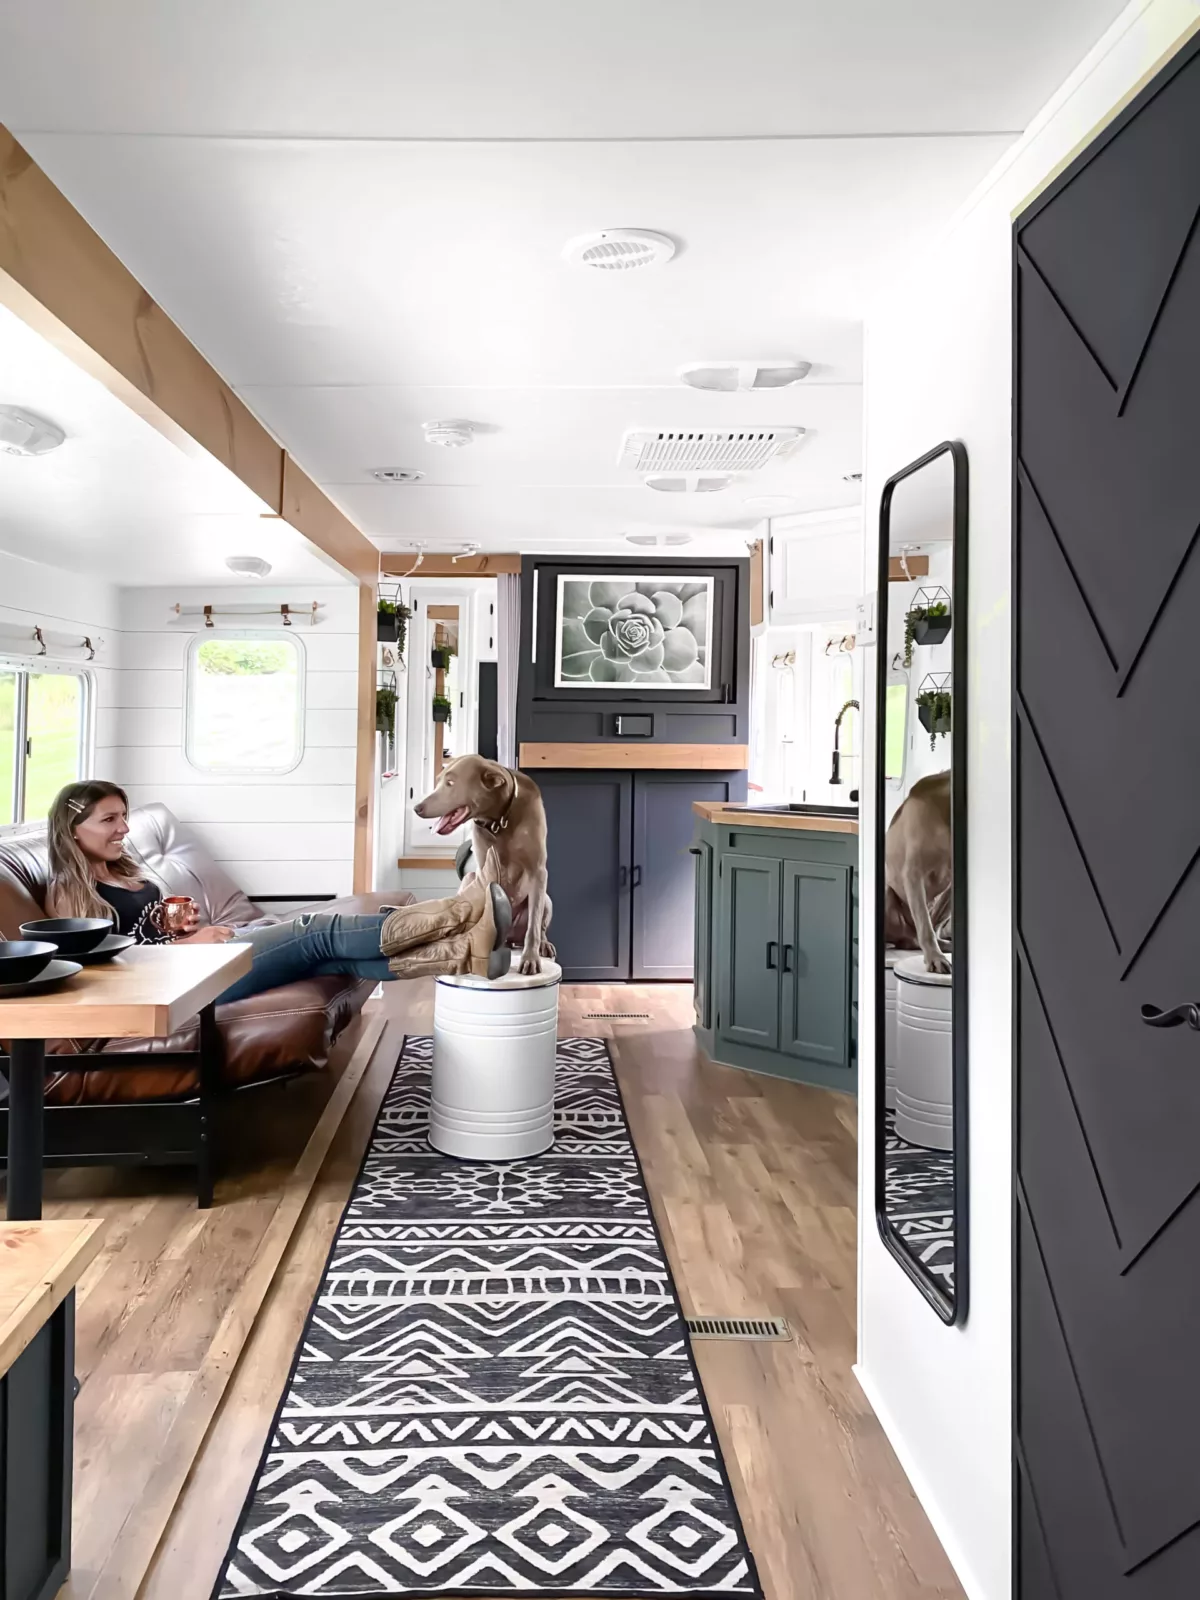
How to Install RV Flooring
Check out the easy step-by-step instructions for your RV flooring installation.
Shopping List
- TrafficMASTER Luxury Vinyl Planks
- Flooring Adhesive
- Flooring Roller
- Behr DeckOver Paint (optional)
- Quarter Round PVC Trim
- 18 gauge 1 1/4″ Brad Nails
- Dap Extreme Stretch Caulk
How much flooring do I need for my camper?
Check out the complete expense report for the Hornet RV renovation here. For that 30′ camper, 9 cases of flooring and 2 gallons of flooring glue were needed.
Tools
Instructions
Step
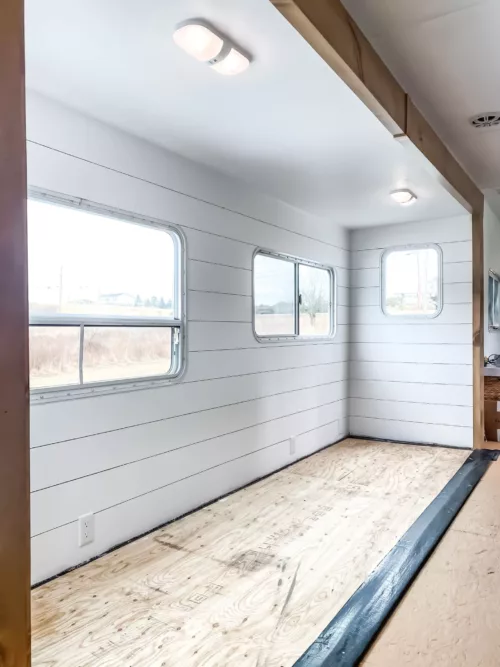
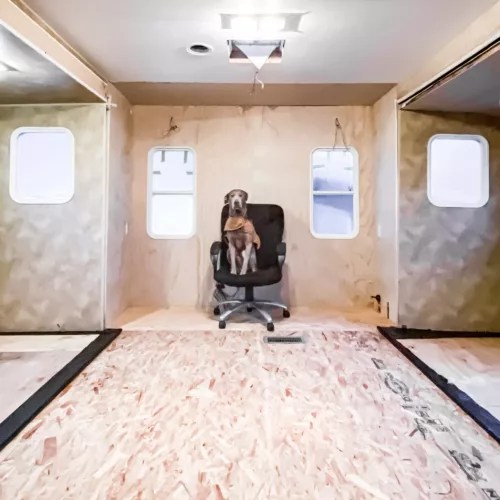
Prep the subfloor
Before installing any RV flooring, you need to ensure that the subfloor is fully prepped.
- All staples removed or hammered in
- Any water damage repaired
- Uneven seams sanded down. If your subfloors are flaking, have glue remnants, or has various cracks and gaps – I recommend applying a coat of Behr DeckOver Paint to unify the surface
Step
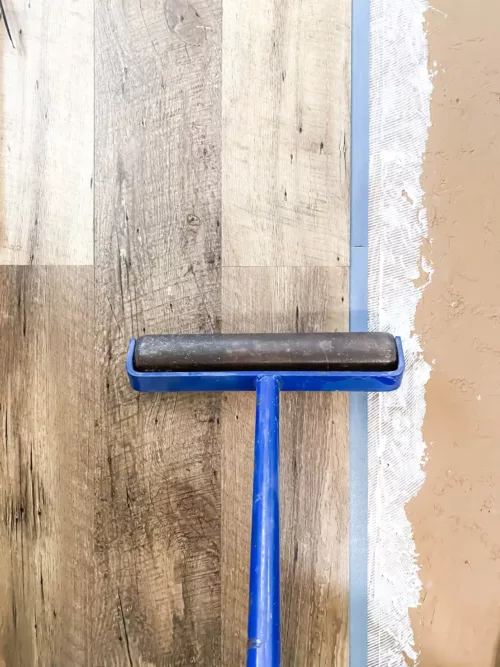
Apply glue
After prepping the subfloor, you can begin by applying the glue that will secure the vinyl planks.
Start in the left-hand corner of your camper that has a slide-out or the longest run without obstacles.
Apply a thin layer of flooring adhesive with a 1/16″ notched trowel. Be sure to hold the trowel at a 45-degree angle. You can spread the flooring adhesive as you go for a more permanent hold or apply sections and let it dry for a removable hold.
Step
Install flooring planks
Lay your first plank of flooring and keep a 1/4” gap between the wall and flooring. When applying each plank thereafter, hold at a 45-degree angle, place the left corner in first and adhere the plank.
Step
Step
Continue installing floor planks
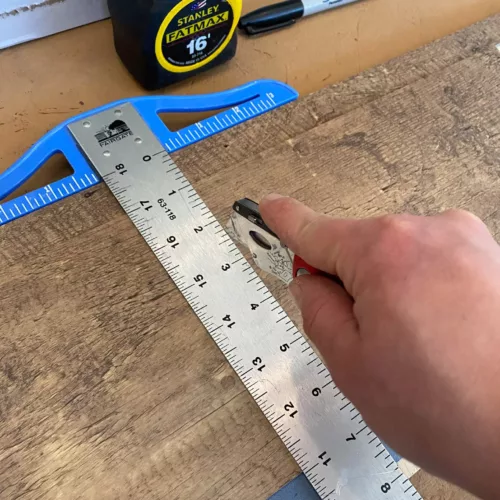
To start another row, be sure to alternate the seams. I recommended cutting the second-row starting plank in half.
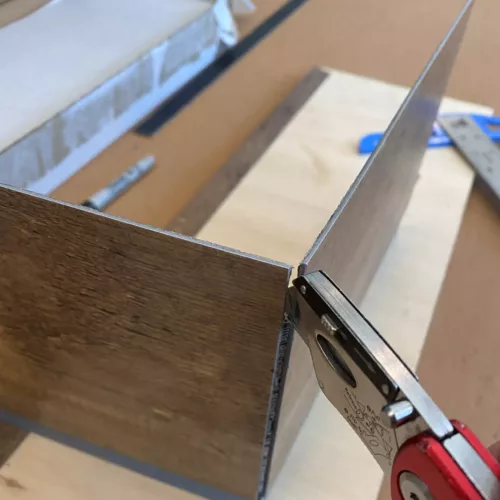
To cut a plank, use a T-square, score with a utility knife, and bend the plank at the score line till it breaks. Use the razor to cut through the remaining plank layer.
Repeat this process until complete.
Step
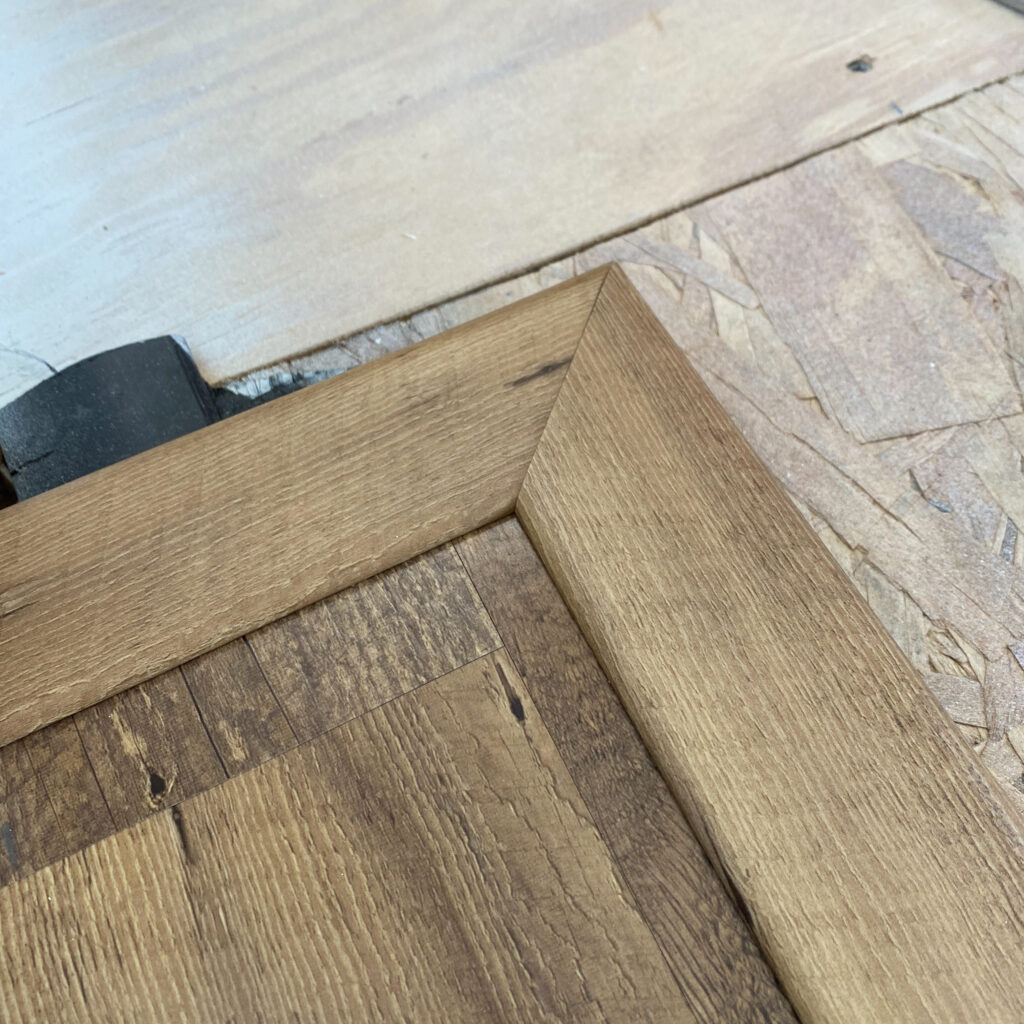
Add trim
Finish off your RV flooring renovation by adding PVC molding at the base of the wall and flooring. Attach with 1 1/4″ brad nails and caulk the holes.
Frequently Asked Questions About RV Flooring Replacement
Here are some commonly asked questions about RV flooring replacements.
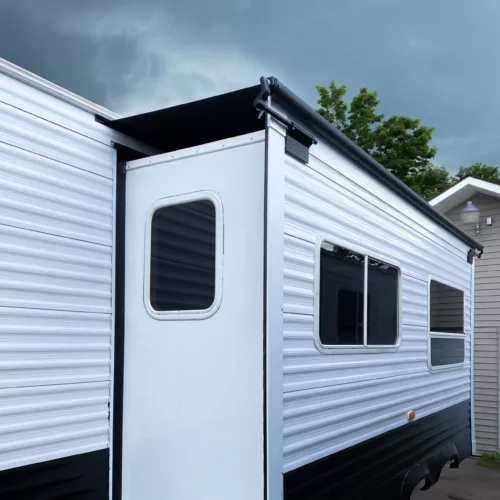
How do you get the flooring underneath the slide?
To run the flooring underneath a slideout you can do it one of two ways:
Option 1:
- Extend the slide fully.
- Remove any gaskets that run along the bottom of the slide opening.
- With bottle jacks and a couple of 2×4s, jack up the slide box a few inches to give you space to slide the new flooring in.
- Install the new flooring, lower the jacks, and put the gasket back on.
If your camper has or needs additional wear bars, I recommend this one: https://store.lci1.com/wear-bar-10ft-117478.html Be sure to install the wear bars on the tops of the new flooring.
Option 2:
- Use a crowbar or hammer to pry up the edge of the subfloor enough that you can slide a block of wood underneath. This way, you have enough room to slide the flooring under the slide subfloor.
- Go as far back with the flooring as you can without pushing past the exterior seal/wiper.
Important: When jacking the slide box up or prying on the subfloor, be mindful of the top as there are only a few inches of space between the top and camper opening.
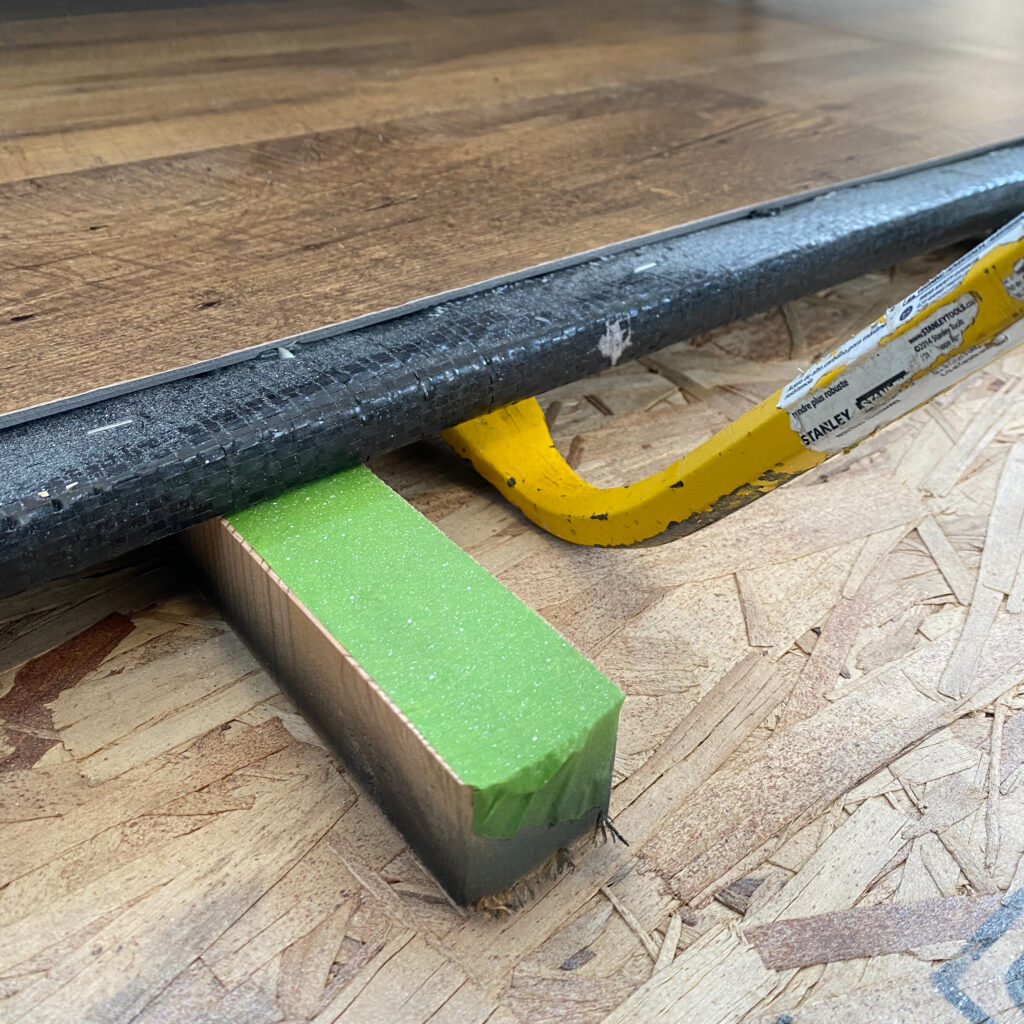
One method to get your new flooring under the slideout is to lift the slide with a crowbar.
How did you trim the front edge of the flooring on the slide?
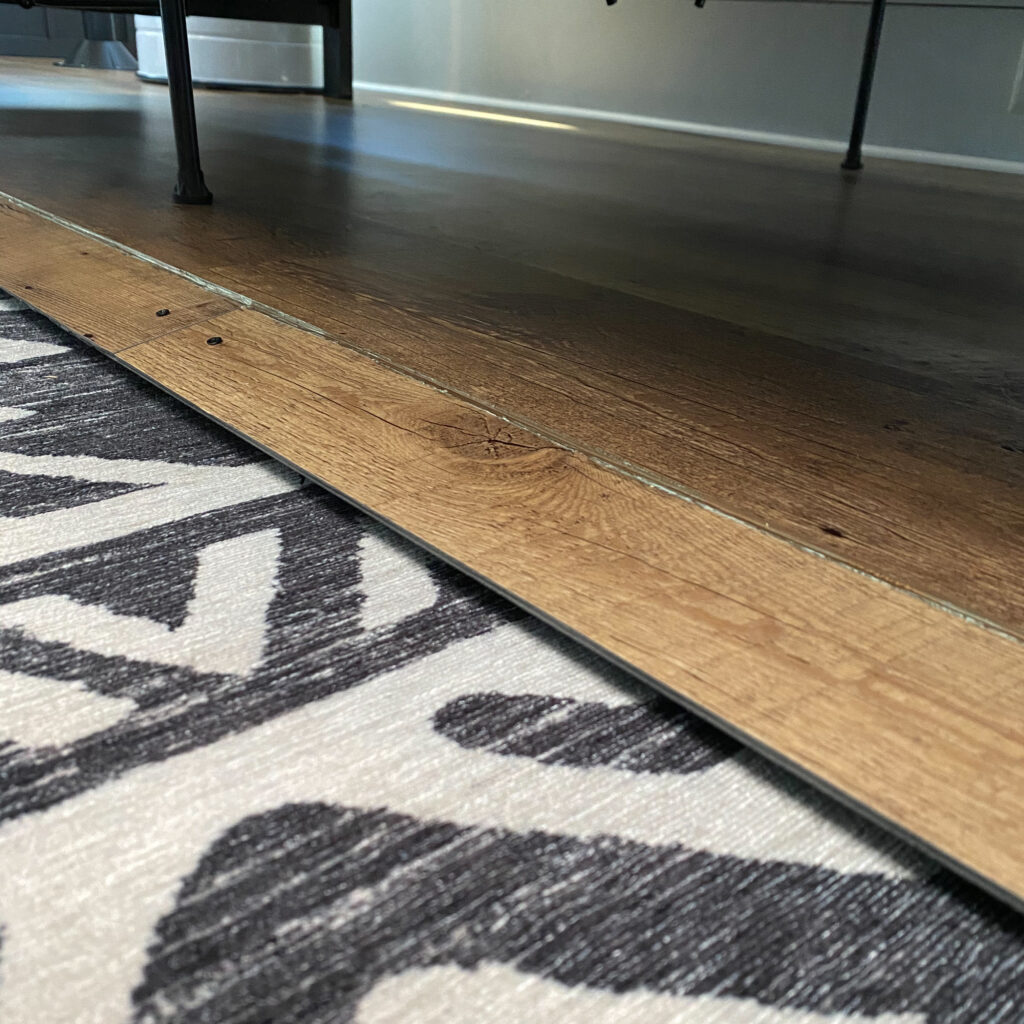
Since my slideout was angled, I cut strips of the flooring and glued and screwed them to the front edge with 1/4″ screws. Then, I used caulk to fill the gap between the main slideout flooring and the front strip.
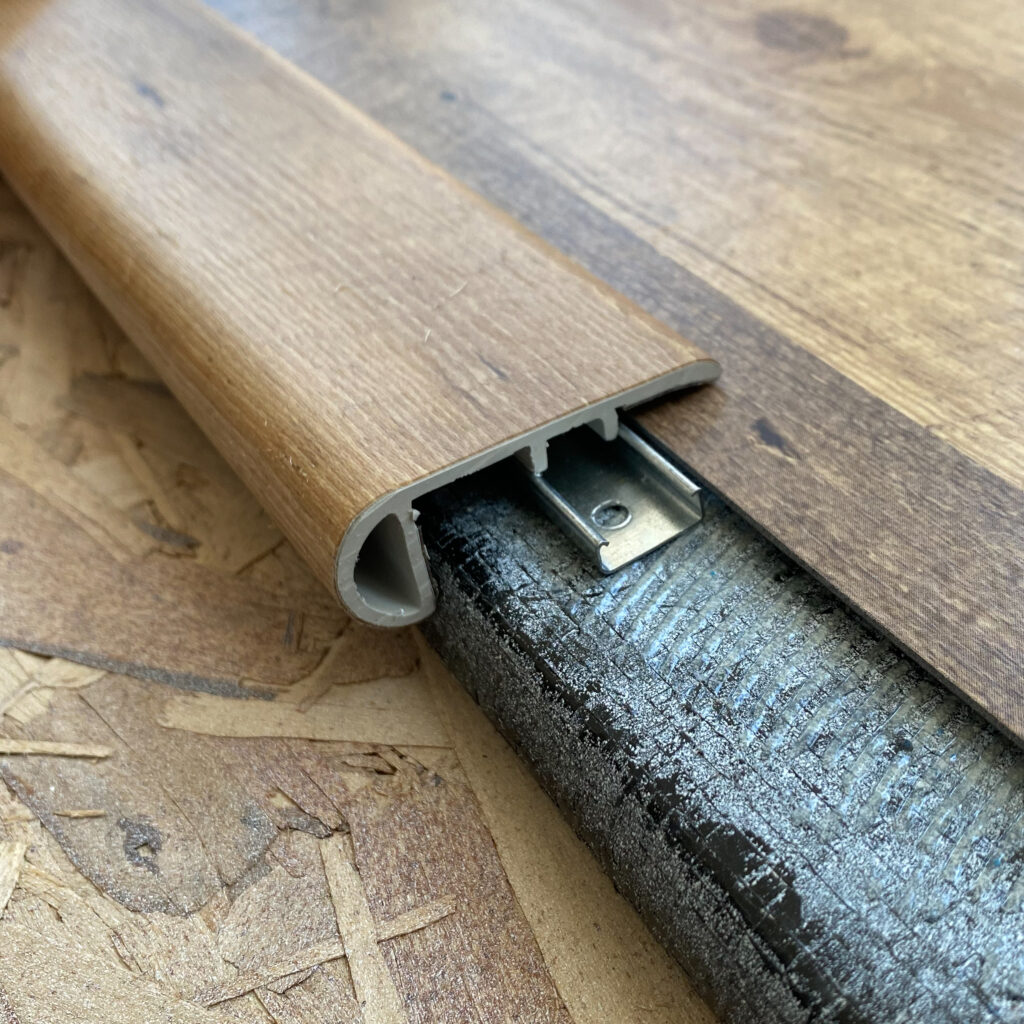
Another method would be to rip a 1″x3″ board at a 12.5-degree angle, then attach it to the angled edge with wood glue and 1/2″ finish nails. This will make the edge square, and then you can add stair nose trim to give you the finished look.
How do you keep the slideout from scratching the flooring?
After spending the time and money to replace your RV flooring, you don’t want it get scratched by the slideout.
On this RV example, it had two 12″ wear bars on each end of the slideout, so I ran an additional 10′ wear bar underneath the entire slideout for an extra lift when retracting in.
I definitely recommend getting a set or two of Slide-Out Slickers for the corners and center of the slideout. The corners typically cause the most wear so that the slickers will prevent any contact with your flooring.
More RV Renovation Ideas
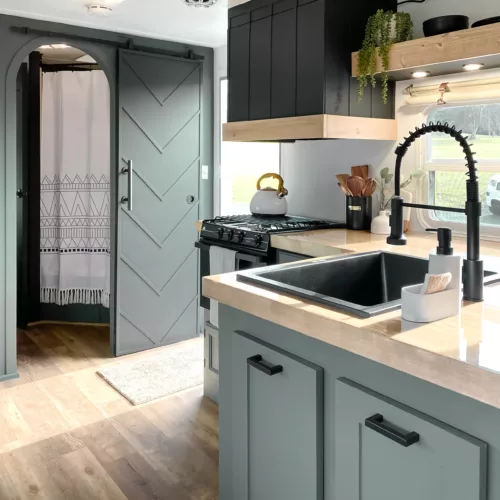
Don’t be intimidated by the idea of replacing your camper flooring. Whether it needs to be replaced because it’s dated or due to water damage, replacing your RV floor is an easy project.
Let’s roll on with your RV renovations. Luckily, Happy Glamper Co is an expert in all things DIY RV renovation and has tons of guides to help with your next project.
Do your RV floors have water damage? Check out this guide to repairing water damage.
Ready to tackle your RV cabinets? Check out this complete guide for painting RV cabinets.
Love the look of shiplap but not the price tag? Try this $1 Sharpie Shiplap for a timeless look.
How to Repair Water Damage on RV Slide Floors
How to Paint RV Cabinets
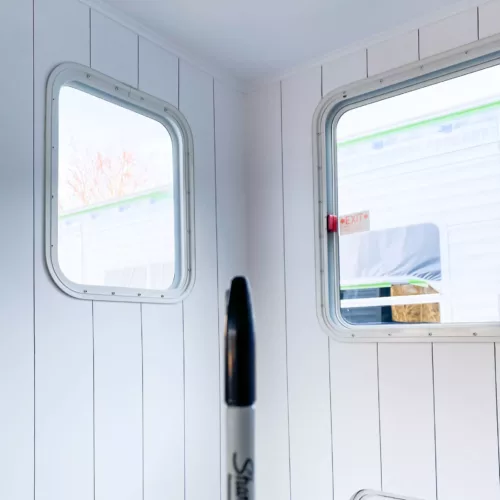
How to Do Sharpie Shiplap