The Importance of RV Slide Awnings and How to Install
Project
Room
Cost
Skill Level
When you set up your RV at your latest camping destination, do you roll out your slide-outs and then forget all about them? You should be unrolling your slide awnings as well! If your rig isn’t equipped with RV slide awnings, you could be at higher risk for water damage.
Here we discuss the importance of camper slide awnings and explain how to measure and install your own.
Do You Need RV Slide Awnings?
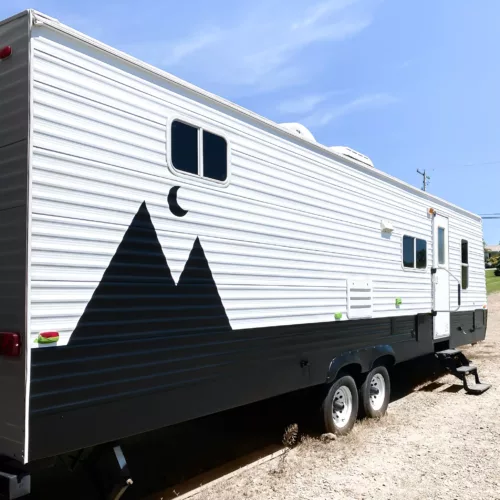
You may have seen your neighbor’s rig with the mini awnings over their slides. These are RV slide awnings or RV slide toppers. When you ask: “do I need slide toppers?” Well, there’s a reason your neighbors have them!
There are 2 major benefits to equipping your camper with them:
- Slide awnings keep debris, leaves, and branches, and bird messes from accumulating on your RV slides. If you allow debris to sit on your slides, it can cause discoloration but can also mess with the seals. If you retract your slides with branches or debris on top, you are bringing all that mess inside plus you’re inviting water in.
- Toppers help prevent rain and snow from amassing on your slides. Water and RVs don’t mix well. So by diverting the water off your slide roof, you are less likely to end up with water penetrating your rig and leaving you with water damage.
In short, slide awnings are instrumental in helping keep your RV nice and dry. A properly installed cover can help protect your seals and prevent water damage that is common in RV slide corners.
Now that you understand why you definitely want RV slide toppers, let’s dive into the how of installing your own.
How to Install RV Slide Toppers
If you haven’t bought your RV yet, you may opt to have the dealer source and install your RV slide toppers. For those who already have an RV without toppers (or want to avoid the dealership prices), this is a project you can do yourself!
Tools
Supplies
How to Purchase
Step
Measure
First, you need to measure the dimensions of your new RV slide awnings. To do this, you need to measure the length and depth of your slide. For the length, you need to measure from the outside of each flange (or the very outer edge of the box).
For best results, measure the outside box dimensions and add 2.5″ to each side (or 5″ total).
Step
Order
After you’ve taken all your RV measurements, you can now order your RV slide awnings. You can order it here. The assembly comes complete with everything needed for an easy installation — including slide-out topper roll, brackets, hardware, and railing to mount your Slide Topper.
Installation Instructions
Now that your RV slide awning kit has arrived, it’s time for the install! For a general step-by-step guide on how to install the Lippert Solera Slide Toppers, follow along with this video or see the instructions below. Also, be sure to read the installation manual that comes with your kit for more detailed instructions.
Step
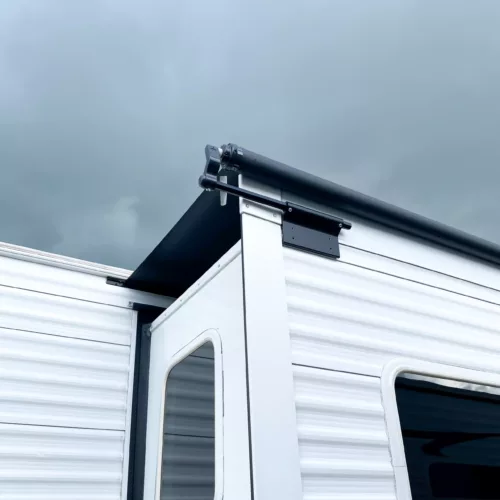
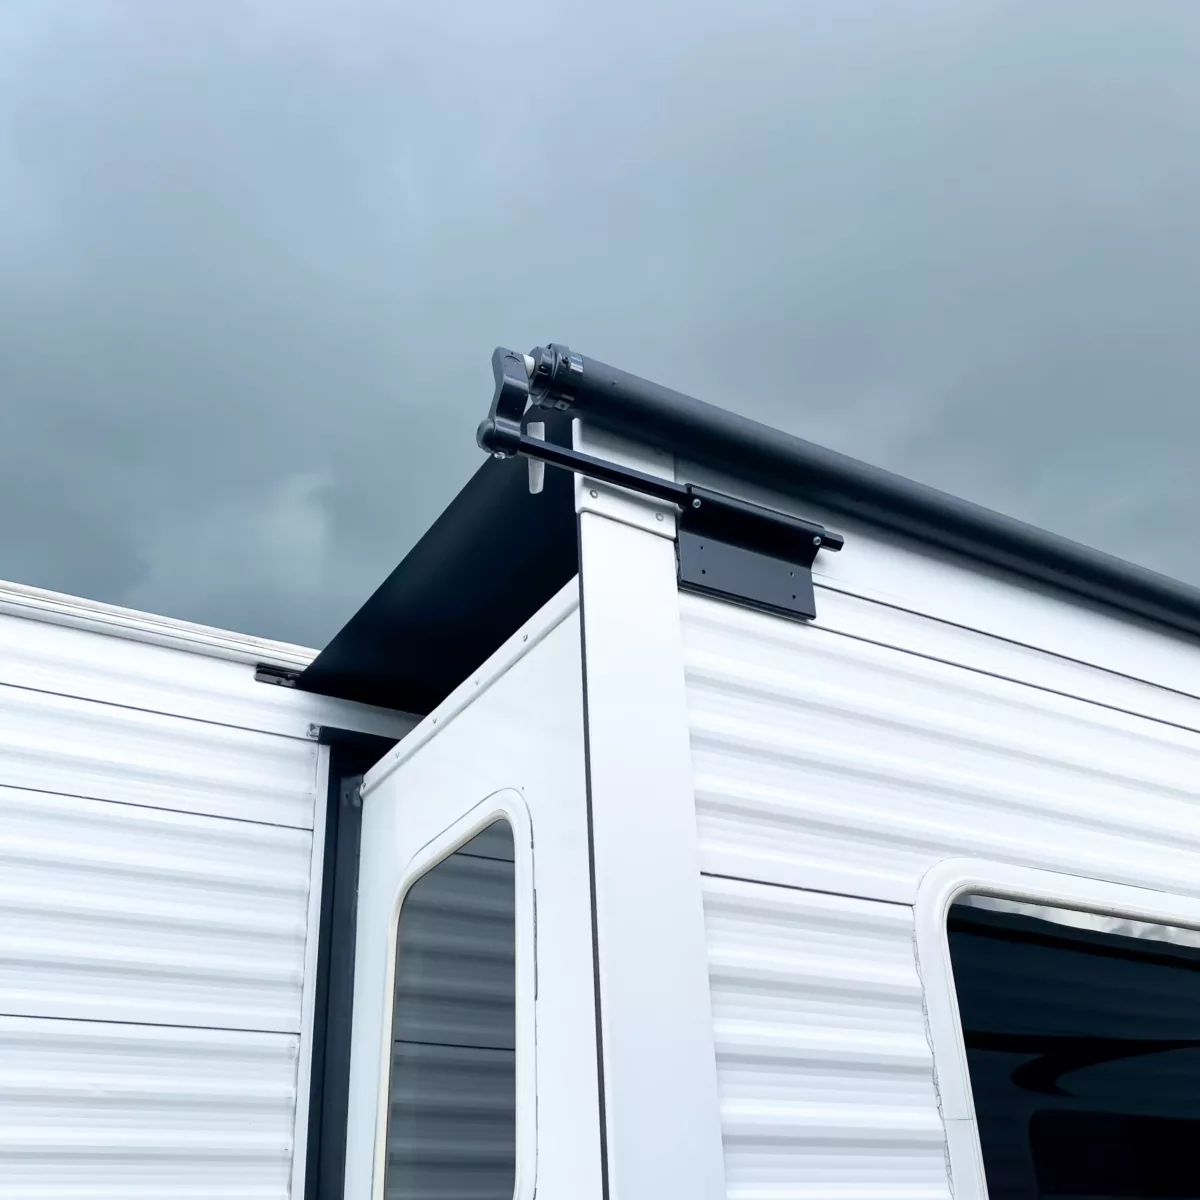
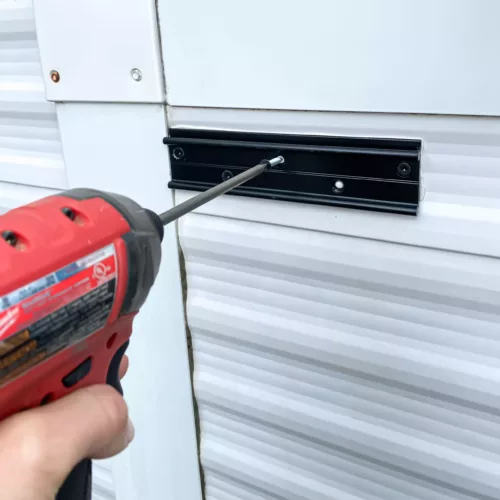
Install the awning rail
First, check to ensure your RV does not already have an awning rail installed. If it does not, position the new awning rail along the line where the roof and wall meet or a minimum of 3″ to 6″ maximum, above the upper edge of the slide room the awning will cover. The awning rail must be level and parallel with the floor line of the unit.
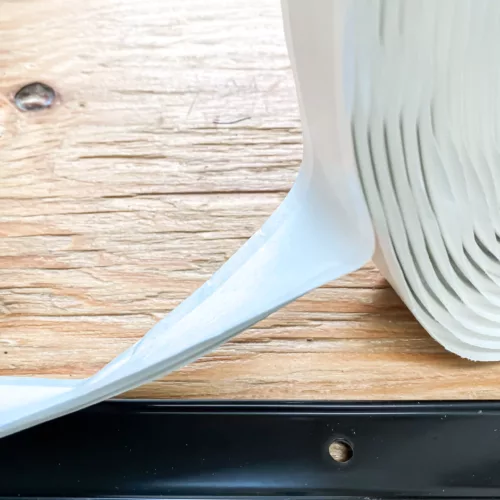
After determining the awning rail’s proper location, mark its position with a non-permanent method of marking. Then, apply butyl tape to the back of the awning rail and attach with the supplied screws.
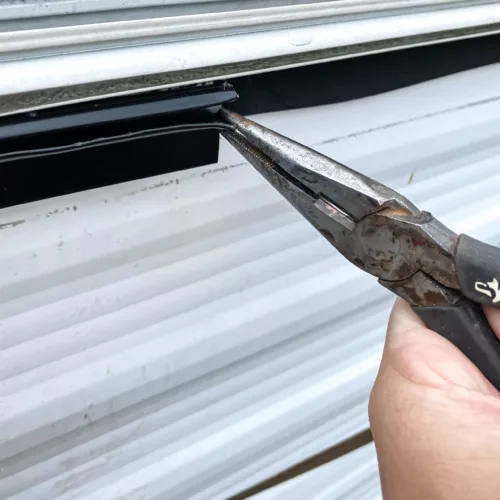
Once the rail is installed, spread open the installation corner with needle-nose pliers to prevent the vinyl from catching the sharp edge when installed. Also, make sure there are no sharp edges.
Finally, trim up any excess butyl tape with a razor knife.
Step
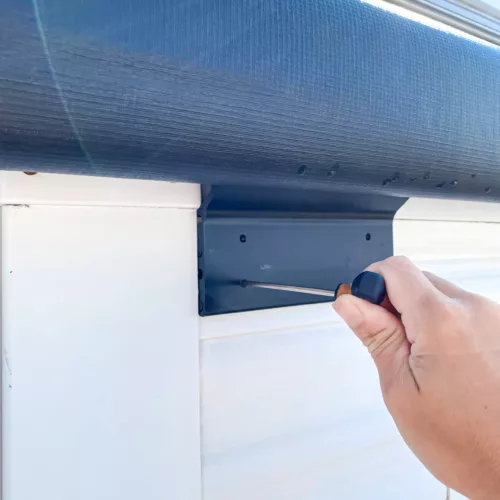
Install the access plate and bracket
Apply butyl tape to the back of the plate. Then, attach each plate to the exterior corner of the slide box with the supplied screws. Trim up any excess butyl tape with a razor knife. Finally, slide in the bracket according to the installation manual.
Step
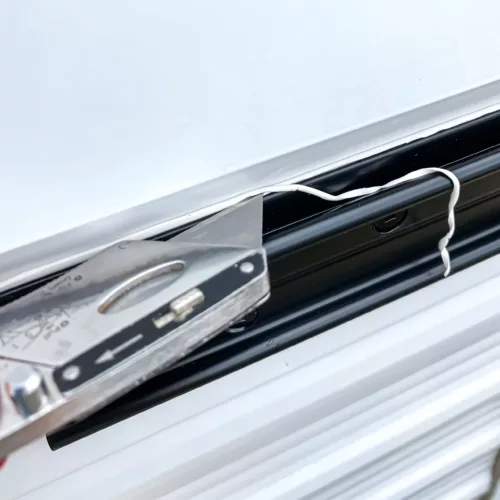
Assemble the extension rod and cap
Slide the extension rod into the spring head assembly torsion arm, aligning the fastener locations. Then, slide the spring head assembly torsion arm end cap into the extension rod, aligning all three fastener locations. Fasten using the provided 1/4″ – 20 x 5/8″ slotted pan head, self-tapping screw. Repeat for the opposite end.
You’ll now need an extra set of hands to help you install the awning into place. With a person on each end, unwrap the fabric one turn and slide the vinyl into the rail end with the corners spread open. Slide the torsion arms in each access bracket.
Step
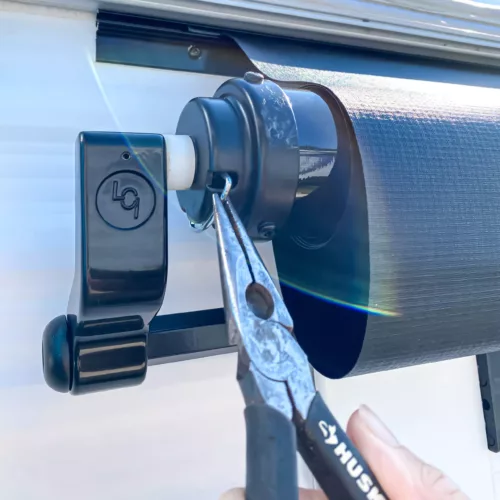
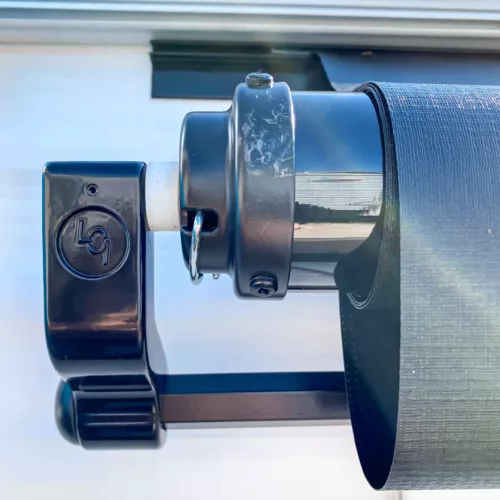
Secure into place
Once the awning is installed in the rail, you can now remove the pins on each side with needle-nose pliers. Retract your slide room in/out a couple of times to make sure it’s square with the RV and rolling up straight. Once everything looks good, secure the access bracket and vinyl with supplied screws. That’s all!